Hela’s puzzles are not locks with keys. They are small physical situations: a plate that needs weight, a rope that needs tension, a target that needs a body inside it, a branch that needs an anchor. The solution is usually a route, a position or a copy of yourself.
That makes the game generous. There is often more than one answer, and there is no death state to punish a wrong one. It also makes the game easy to overthink. When a puzzle stalls, go back to four questions.
The four questions
1. What is the goal, exactly?
Read the ritual card or the interaction prompt before touching anything. In the demo, rituals listed a goal, a difficulty rating and a mice count. “Hit all targets in time” is a different problem from “keep a mouse in every target.” One is a route; the other is a placement puzzle.
If the goal is a door, the goal is not “stand on this plate.” It is “keep every plate pressed at the same time.” That distinction tells you whether you need a body, a Shade or an object.
2. Where is the anchor?
Hela’s movement is built around attach points: branches, rings, ropes, buildings, even a passing moose’s antlers in one preview. When a route looks impossible, look up. The anchor is often above the obstacle, not in front of it.
A useful habit is to trace the line from your mouse to the nearest anchor. If the line crosses the gap, a swing may solve it. If the anchor is above you and the landing is lower, a glide may be the answer.
3. How many paws does it need?
The game can ask for one, two, three or four mice. That number is not a difficulty setting; it is a description of the solution’s shape.
- One mouse: a route, a carry or a timed touch.
- Two mice: a held rope, a counterweight, two plates at once.
- Three or four mice: a formation, a sequence of held positions, or a tightrope with multiple bodies.
If you are playing solo, the difference between the number and one is the number of Shade slots to fill. If you are playing with two, the difference is two.
4. What can I move?
Hela’s world is full of objects with weight and friction: stones, tools, toys, branches, ingredients. If a direct route does not exist, the answer may be to build one. Carry a stone to a plate. Wedge a branch. Float on a bucket. The game’s “toybox” design is not decoration; it is the puzzle language.
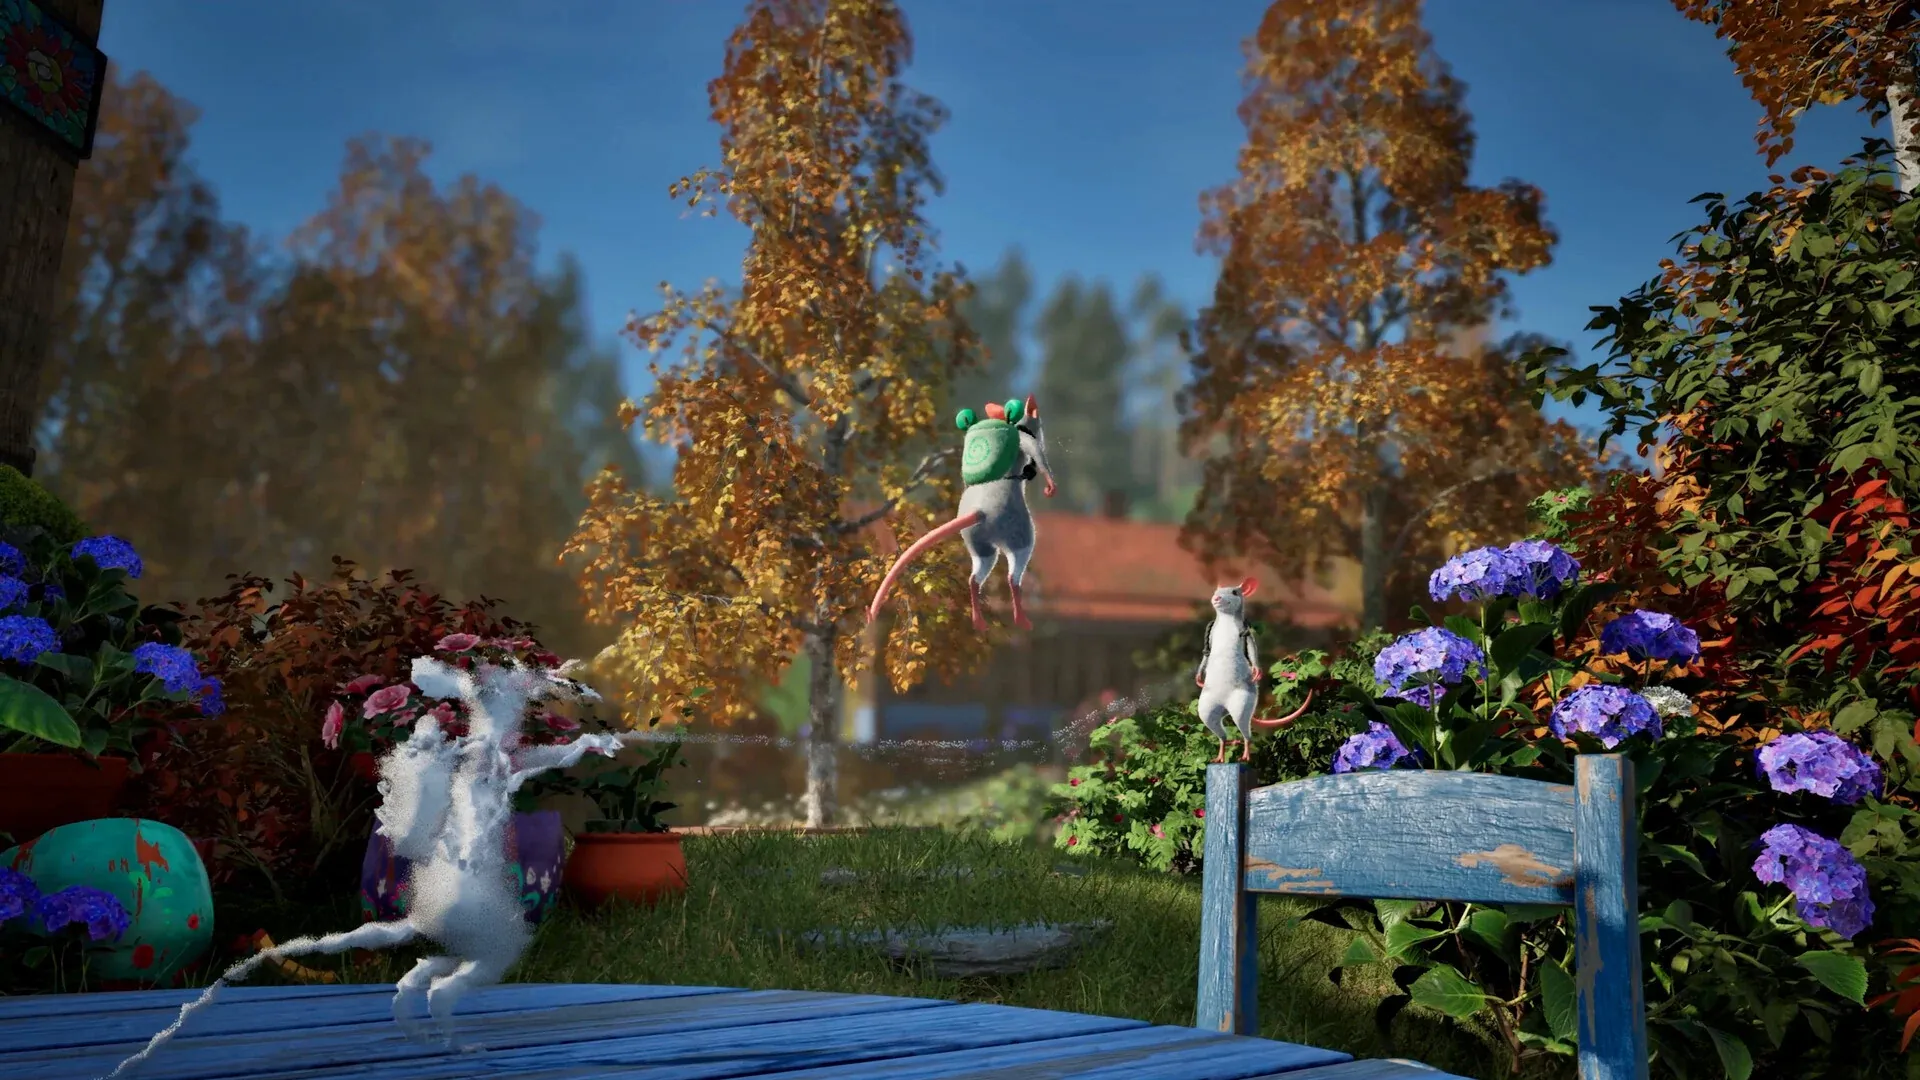
Four Shade patterns worth memorising
The plate-holder
The simplest pattern. Put a Shade on a pressure plate, then walk to the next plate yourself. If a door needs four plates, use Shades to fill the slots you cannot stand on. In the demo, the first major door used exactly this idea.
The rope anchor
A Shade can hold one end of a rope or stand in a position that keeps a line taut. This turns a Shade into a fixed point for swinging, walking a tightrope or pulling an object. If a rope needs two ends and you have one mouse, the Shade is the second end.
The checkpoint
Leave a Shade before a long climb or a risky glide. If you fall, swap back to it. This is not a puzzle solution so much as a way to make experimentation cheap. The best players use it constantly.
The counterweight
A Shade has presence. It can hold a door open, keep a seesaw down or block a mechanism. Sometimes the solution is not to reach the target but to stop something from moving.
Two co-op patterns that are hard to do alone
The tightrope
Two mice attach to each other, or one mouse and one Shade hold a rope, creating a line another mouse can walk or bounce on. In previews, a rope stretched between two points was used to sweep through a ring of targets. The lesson: a rope is not only for swinging. It is a surface.
The swing chain
One player swings, releases and becomes an anchor for the next. This is the movement equivalent of a relay race. It looks chaotic and feels wonderful when it works. The counter is simple: call your release, and give the next player a stable anchor rather than a moving target.
When you are stuck
- Reset the ritual. A clean start is faster than defending a bad setup.
- Change your altitude. Look up, look down, and check the underside of the obvious route.
- Count the bodies. If the puzzle expects more mice, make a Shade.
- Look for an object. The world is a toolbox; the answer may be a thing, not a jump.
- Try the opposite verb. If swinging is not working, glide. If pulling is not working, push. If climbing is not working, plunge.
- Leave and come back. Hela is non-linear. A different route may reveal the missing piece.
What we are not doing
We are not publishing a fake list of “all ritual solutions” before launch. The full game’s puzzle list, map and reward structure are not public. When the game is out, this page will be updated with verified puzzle types and solutions — with the version number attached.
Spotted a mistake or have a better source? The corrections desk is open. This guide is based on official material and labelled previews; it is not a fabricated playthrough.